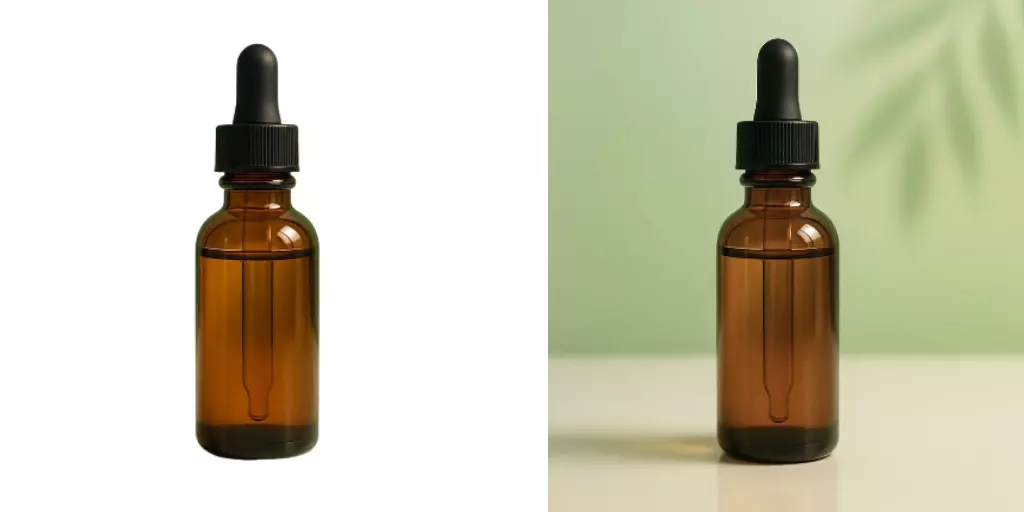
How to Remove Watermark from Photo for Cleaner Marketing Campaigns
Own the rights? Here's a clean, step-by-step way to remove watermarks and prep compliant, polished images for ads, pages, and social.
 Emily CremerMay 28, 2026
How to Remove Watermark from Photo for Cleaner Marketing Campaigns
Your new campaign is ready to ship, but the hero image still carries a faint diagonal watermark from the agency comp. You could push it live and hope no one notices—or you could spend an hour inside a complex editor trying to rebuild textures by hand. Neither option is great when you’re juggling ad sets, landing pages, and social tiles on a tight launch calendar.
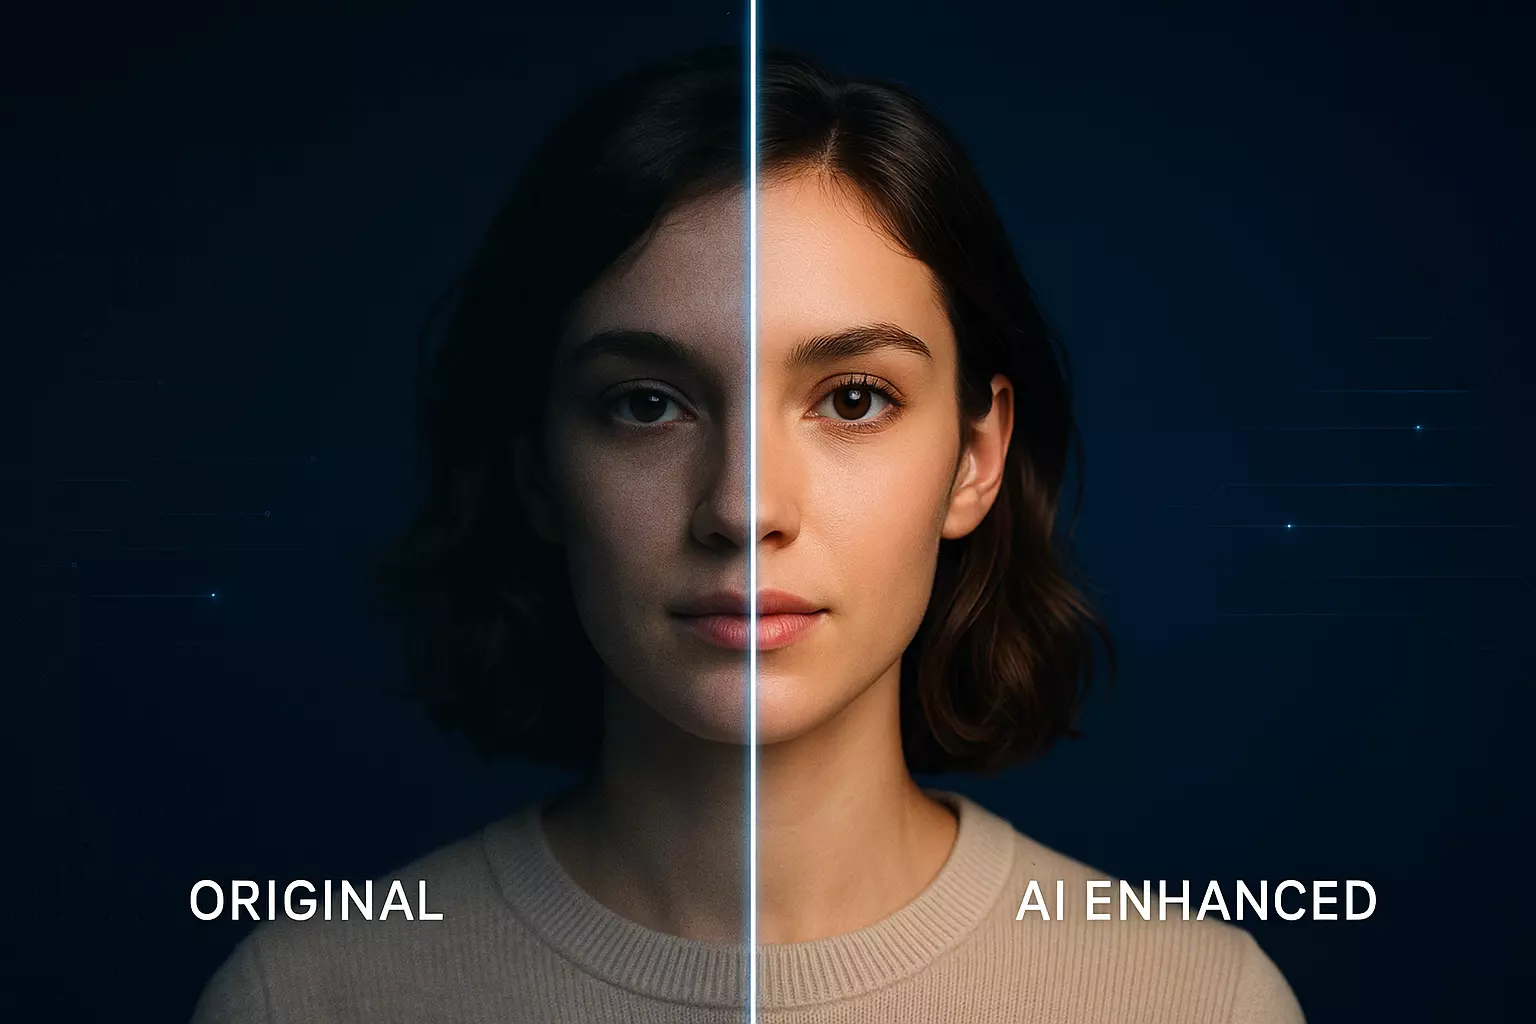
A better answer is a responsible, documented workflow that lets you quickly remove watermark from photo assets you own or have licensed—without trading speed for quality. AI tools now preserve fine textures and edges better than ever, which means you can confidently deliver clean visuals across Meta, Google, Amazon, and TikTok with minimal touch-up. If you need a fast, practical way to move from comp to production-ready, an online AI tool can help you remove watermark from photo with consistent results and less manual cleanup.
Why watermark removal matters for cleaner marketing campaigns
- Brand trust and clarity: Visible watermarks distract, lower perceived quality, and reduce click-through on ads and social.
- Multi-channel scale: One image often becomes dozens of variants; if your base file is compromised, every placement is affected.
- Faster creative operations: Removing visual noise early streamlines approvals, avoids rework, and protects timelines.
- Compliance and governance: As more brands embed preflight checks, consistently clean assets help you pass reviews the first time.
Parent trend: Creative teams are building asset governance into production—licensing, audit trails, and visual quality gates—so “clean, rights-cleared image” is becoming a standard preflight requirement before any ad goes live.
(See image suggestion: Comparison grid showing manual clone and heal vs generative fill vs AI watermark remover on a product image.)
Permissions first: when it’s legal to remove a watermark
Only remove watermarks from photos you own or are licensed to modify. Watermarks are often used to protect intellectual property; removing them from unlicensed images is usually a violation of copyright and platform policies.
- Confirm your rights: Your license or contract should explicitly permit editing or derivative works.
- Keep documentation: Save license PDFs, order confirmations, and agency emails in your asset folder.
- Respect attribution: If the license requires credit, add it to your metadata or creative notes as needed.
- Avoid UGC pitfalls: For influencer or creator content, secure written permission that covers editing and paid usage.
Compliance tip: Removing a watermark does not grant usage rights. Always ensure your usage—organic or paid—matches your license scope (channels, geos, time, and impressions).
Methods to remove watermark from photo
There are three practical approaches most teams use today. Your choice depends on speed, texture complexity, and volume.
1) Clone/heal in traditional editors
- Good for small, uniform backgrounds (e.g., sky, solid color).
- Struggles with patterned surfaces (fabric weaves, wood grain) and curved edges where seams become obvious.
- Time-intensive and skill-dependent.
2) Generative fill in modern editors
- Faster than manual healing; can infer missing pixels with good contextual understanding.
- Quality varies when watermarks intersect detailed edges, shadows, or logos; artifacts can appear on tight crops.
- Requires a desktop app and some prompt/selection finesse.
3) An AI watermark remover (online)
- Automates selection and inpainting; excels at preserving textures and edges with minimal artifacts.
- Works well for campaigns with many variants where batch processing is valuable.
- Great middle ground for quality and speed without a heavy learning curve.
Pixflux.AI is a practical option in the third category for marketing teams that want reliable quality without setting up complex software. It focuses on clean removals while keeping fine details intact—especially useful on textiles, product labels, and lifestyle backgrounds.
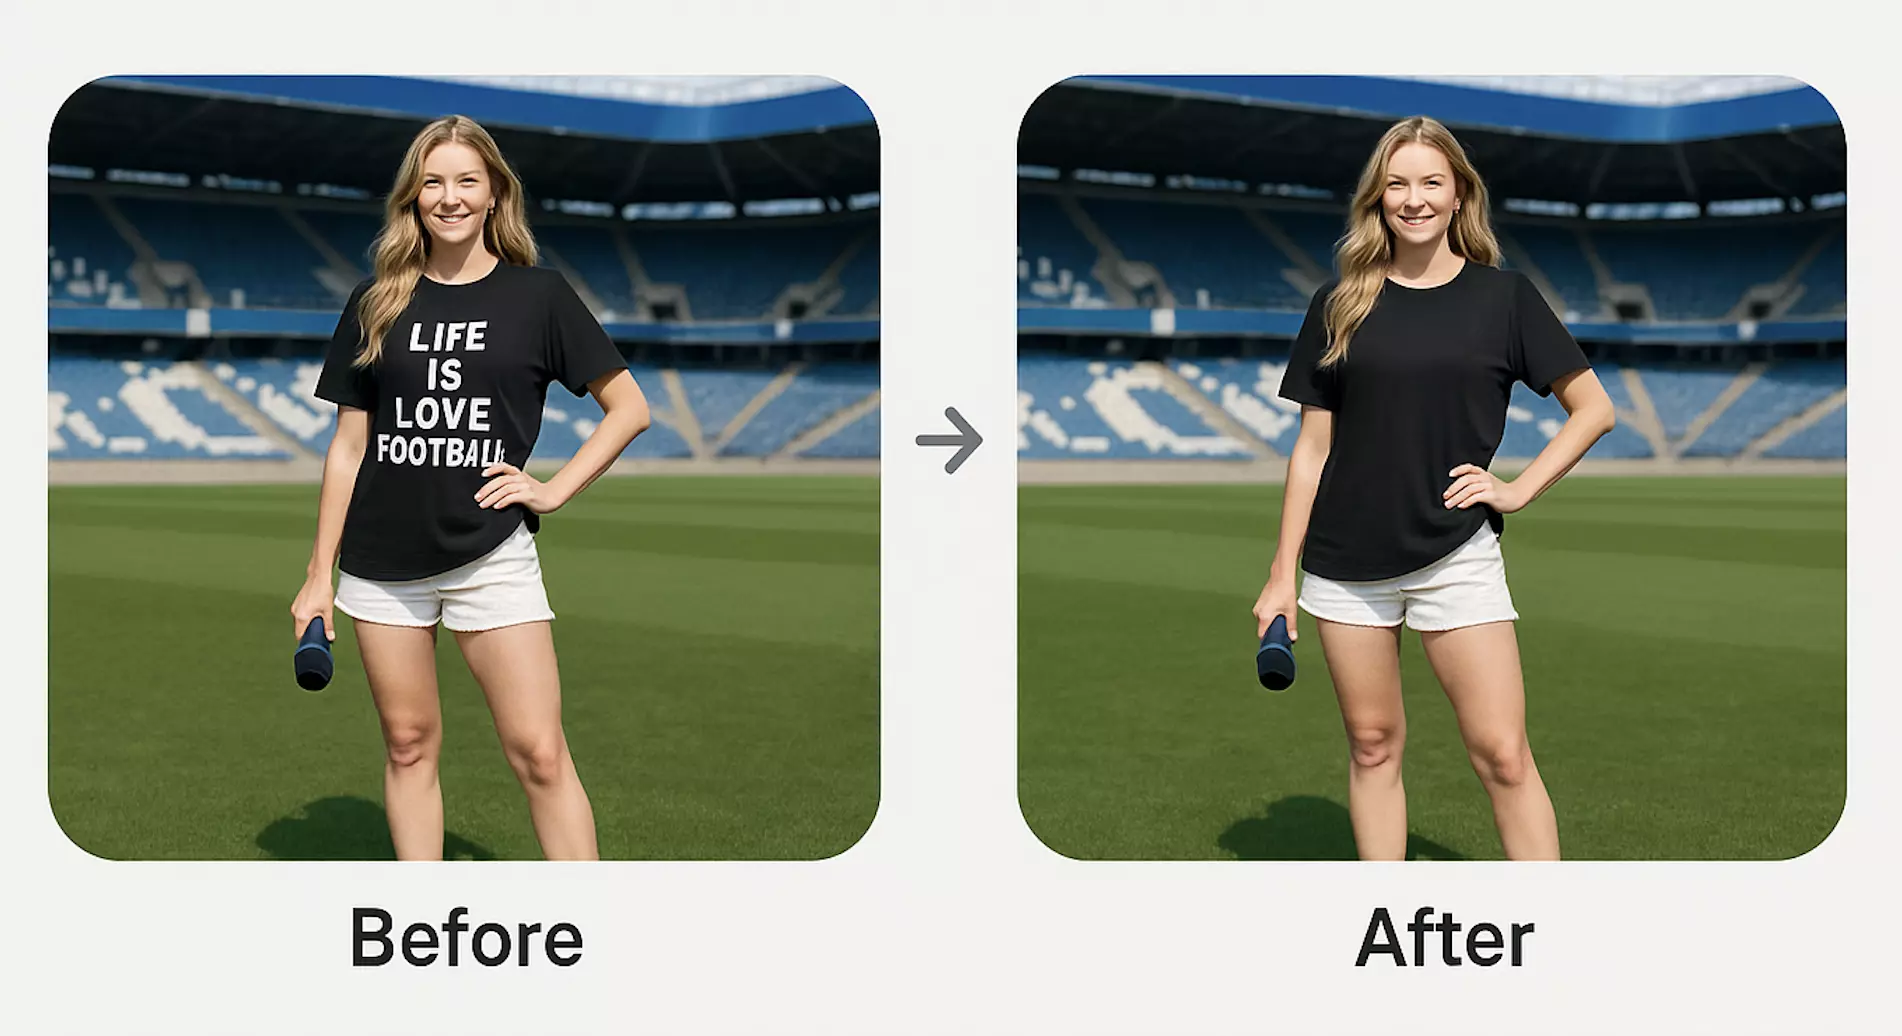
(See image suggestion: Side-by-side before and after of the same campaign photo with watermark removed using Pixflux.AI.)
Quality criteria and a preflight checklist
Before you publish an edited asset, run a quick quality pass. This avoids approvals friction and late-stage rollbacks.
- Texture continuity: No repeating patterns, smears, or soft patches where the watermark used to be.
- Edge integrity: Product outlines, hair, and fabric edges should look natural with consistent sharpness.
- Shadow and light consistency: No haloing or banding around the removal area; shadows should remain believable.
- Color and grain: Match noise/grain and color cast within the removed area to the surrounding pixels.
- Export fit: Use the right dimensions, format (PNG/JPEG/WebP), and sRGB color profile for the ad or social platform.
- Metadata and rights: Keep license docs, add usage notes to your asset management sheet, and log the edit date and owner.
Many brands now embed a brief compliance checklist into their creative preflight. It’s a fast win that prevents ad rejections and brand-quality issues.
Step-by-step: remove watermark from photo with Pixflux.AI
You can complete a clean edit in minutes with a simple 3-step flow:
- Upload your original image
- Drag and drop your licensed campaign photo. Higher resolution yields better inpainting fidelity.
- Let the AI process the image
- The tool detects and removes the watermark while preserving textures, edges, and shadows.
- Download the edited result
- Preview, compare, and export the final file for your ad, landing page, or social tile.
Try it now to quickly remove watermarks in photos you own or have licensed, and keep your campaign production moving.
(See image suggestion: Pixflux.AI interface showing upload → AI processing → download in a 3-step flow.)
Pro tip: If you’re prepping a large batch of product shots, Pixflux.AI supports batch uploads so you can process multiple images in one session and keep styling consistent across variants.
Advanced edits: rebuild textures, edges, and shadows after removal
Most AI removals are publish-ready, but high-visibility hero assets sometimes benefit from a light finishing pass:
- Texture harmonizing: If the removal area sits on fabric, add a subtle film grain layer at low opacity to mask any ultra-smooth patches.
- Edge refinement: Where watermarks crossed a product edge, slightly increase local contrast or sharpness along the contour to match surrounding details.
- Shadow blending: Use a gentle dodge/burn or exposure adjustment to keep the luminance gradient smooth across the formerly watermarked area.
- Final touch-ups: If an element still feels distracting, use an AI object remover to clean stray scuffs or background clutter so your product remains the hero.
Batch processing campaign images while keeping consistency and metadata
When you’re turning a single shoot into dozens of deliverables, batch discipline matters:
- Group by background complexity: Process product cutouts, patterned scenes, and lifestyle shots in separate batches for best results.
- Lock brand settings: Keep color space (sRGB), export format (JPEG or WebP for ads; PNG if transparency is needed), and compression levels consistent.
- Maintain naming: Use a clear convention (campaign_channel_variant_size). Example: “spring-shoes_meta_carousel-02_1080x1080.jpg”.
- Preserve documentation: Store license PDFs and edit logs in the same folder as finals; add a readme or spreadsheet noting editor, date, and usage scope.
Pixflux.AI’s batch-friendly flow helps creative producers cut repetitive clicks while delivering uniform quality across placements.
Troubleshooting common artifacts when you remove watermark from photo
- Faint ghosting remains: Run a second pass, then lightly add grain or noise to the area to match surrounding texture.
- Smearing on patterns: Crop tighter and reprocess, or break the area into smaller selections in a traditional editor for precision.
- Banding in gradients: Export at higher quality, or add a small amount of dithering to smooth the gradient.
- Warped edges near logos: Apply local contrast or micro-sharpening on the product boundary after the AI pass.
- Mismatch in shadows: Sample luminance levels nearby and adjust the edited area with a subtle curves or exposure tweak.
Case study: before-and-after that scale across ads, landing pages, and social
A footwear brand licensed a set of lifestyle images for a US product launch. The agency comps included diagonal watermarks across shoes and backgrounds. The team:
- Ran AI watermark removal on the master hero shots, with spot checks for texture continuity on leather and denim.
- Performed minor edge sharpening where the watermark crossed the shoe outline.
- Exported variants for Meta (1080×1350), TikTok (1080×1920), and a landing page hero (1600×900), all in sRGB JPEG.
- Logged license terms and edit notes alongside finals in their campaign folder.
Result: Faster approvals, cleaner ads, and higher CTR on social where watermark remnants previously distracted from the product.
(See image suggestion: Side-by-side before and after of the same campaign photo with watermark removed using Pixflux.AI.)
AI tools vs. traditional methods: what changes in your workflow
- Time cost
- Traditional: 10–30 minutes per image for careful clone/heal on textures and edges.
- AI online: 30–90 seconds per image (often less), plus optional 1–2 minutes of polish on key assets.
- Learning curve
- Traditional: Advanced photo editing skills needed, especially on patterned surfaces.
- AI online: Minimal training; straightforward 3-step flow that producers and marketers can use confidently.
- Batch efficiency
- Traditional: Repetitive manual work; macro actions rarely handle nuanced patterns well.
- AI online: Batch-ready uploads reduce context switching and keep results consistent across sets.
- Cross-team fit
- Traditional: Dependent on a small group of power users; creates bottlenecks.
- AI online: Self-serve for designers, marketers, and content ops with shared quality checklists.
Pixflux.AI gives you the speed of an AI watermark remover while preserving details that usually trip up manual healing, especially on fabrics, wood grain, and low-contrast gradients.
FAQ: remove watermark from photo—legal, quality, and workflow questions
Is it legal to remove a watermark from a photo?
Yes, if you own the asset or hold a license that grants editing or derivative rights. If the image is unlicensed or your license prohibits modification, removing the watermark is likely a rights violation. Always confirm license scope (channels, regions, timeline) and keep documentation with your final files.
Will AI watermark removal leave visible artifacts?
Usually no—modern AI tends to preserve fine textures and edges well, but you should still zoom to 100% for a quick check. Look for ghosting on gradients, seams on patterned surfaces, or halos near edges. If needed, run a second pass, add subtle grain, or perform a quick local sharpen to blend the area perfectly.
Can I batch process many campaign images at once?
Yes, batch-friendly tools can process multiple assets in one session with consistent settings. Group images by background complexity, keep export profiles uniform (sRGB, JPEG/WebP), and name outputs clearly. Pixflux.AI supports batch uploads to help teams ship large creative sets on deadline.
Which formats and sizes should I use after removal?
Use high-resolution sources and export to match the target platform’s specs (e.g., 1080×1350 for many social placements, larger for hero banners). For web ads and social, sRGB JPEG or WebP is standard; for transparent backgrounds, PNG is useful. Keep compression balanced to avoid banding on gradients.
Does removing a watermark affect ad approvals or SEO?
Not directly, but clean, rights-cleared images reduce the risk of rejections and improve user engagement. Platforms may flag low-quality or misleading creatives; a clean edit with accurate messaging helps you pass reviews and build trust on landing pages, product listings, and social.
Can I remove watermarks from stock previews to test layouts?
No, not unless your license explicitly allows it—most stock previews are for evaluation only and cannot be altered or used in production. Buy the correct license first, then remove the watermark from the licensed file and document your permissions before publishing or sharing widely.
How do I keep an audit trail for compliance?
Save license documents and add an edit log noting who edited, when, and why. Keep this alongside your final exports in the campaign folder. A simple spreadsheet or readme is enough to satisfy most internal reviews.
Conclusion and next steps
A clean, rights-cleared image speeds approvals, strengthens brand perception, and lifts performance across ads, landing pages, and social. With modern AI, it’s practical to remove watermark from photo assets at scale while preserving textures, edges, and shadows—no steep learning curve required.
If you’re ready to accelerate production with consistent, compliant results, try Pixflux.AI as your go-to photo watermark remover. Upload, process, and download in minutes—and move your campaign from “almost ready” to live.