White Background Product Photos That Look Clean, Premium, and Ready to Convert
Prioritize crisp edges and true whites; Pixflux.AI speeds up delivery.
 Richard SullivanMarch 6, 2026
White Background Product Photos That Look Clean, Premium, and Ready to Convert
Your product shots are crisp, but the backgrounds keep ruining the vibe—uneven paper sweeps, faint color casts, or messy studio floors that show up after compression. You know marketplaces and ads favor white backgrounds, yet every attempt ends up flat, haloed at the edges, or washed out with no depth.
Here’s the good news: today’s lightweight AI tools can give you a conversion-ready white background without sacrificing edge refinement, believable product shadows, or true color. If you’re tired of masking in circles, try an online workflow built for speed and consistency—one that helps you hit marketplace specs and still look premium. Start by turning a single photo into a clean white background that fits your brand and meets platform standards.
In this guide, you’ll learn how to build a pure white background with the right luminance, keep organic shadows for depth, and protect edge clarity from fringing or halos. We’ll share a practical capture-to-export workflow, then show a hands-on example with Pixflux.AI so you can go from upload to download in minutes.
(Reference image suggestion: Three-step Pixflux.AI interface—upload, AI processes to pure white, download result.)
Why white background product photos convert (and where they matter)
- Marketplaces and ads: Most ad networks and marketplaces prioritize clean, distraction-free visuals; main images on major marketplaces often require true white for consistency and search results.
- Scrolling behavior: On search and mobile feeds, white background photos read faster and focus attention on the product outline and features.
- Cross-device consistency: As shoppers move from mobile to desktop, a neutral white background stabilizes color and contrast, especially on sRGB pipelines.
With marketplaces tightening white background and color accuracy requirements in 2026, getting to “true white” and maintaining believable shadows isn’t just aesthetic—it’s compliance and conversion.
The science of “clean white”: luminance, neutrality, and clipping
- Luminance targets: “Pure white” in digital images means RGB 255/255/255. Many teams aim for 250–255 in the background to protect edge transitions, then clip to 255 if needed.
- Color neutrality: A white background must be neutral (no cyan/magenta/yellow tint). Use a gray card at capture or a white balance eyedropper in RAW editing to stabilize tones.
- Clipping control: Hard-clipping too early can destroy micro-contrast along edges and shadows. Instead, push backgrounds near-white, refine edges, then apply a controlled background lift to 255.
Tip: Use a highlight alert or histogram in your editor. You want the background clustered at the right edge without obliterating product detail.
Lighting and capture setup for depth without spill
- Key and fill: A soft key light (large diffuser or softbox) with gentle fill creates dimension on products. Keep lights slightly forward to minimize backdrop spill.
- Distance matters: Pull the product 3–6 feet from the white sweep to reduce bounce and edge contamination.
- Flags and grids: Use flags or grids to keep the light off the background, especially with reflective items like bottles or chrome accents.
This gives you depth right out of the camera—and less heavy-handed editing later.
Shadow strategy: natural, drop, and contact shadows that look real
Believable shadows are your best defense against the “cutout sticker” look:
- Contact shadow: The darkest area directly under the product; keep it subtle and anchored to ground the object.
- Natural shadow: Soft, shape-following shading cast by your key light; great for lifestyle-leaning product pages.
- Drop shadow: A controlled, slightly offset shadow that mimics a studio light; ideal for catalogs where uniformity matters.
Intensity and blur should match the perceived light direction and distance. Over-dark or over-soft shadows look fake; aim for subtle, neutral-gray tones that taper naturally.
(Reference image suggestion: Side-by-side grid showing natural, drop, and contact shadows at three intensities.)
Edge quality on white: anti-halo, fringing, and reflection control
Crisp edges are the difference between premium and amateur:
- Anti-halo: When the background is clipped to 255 too quickly, a gray “halo” can outline the product. Counter with feathered selections or AI edge refinement before clipping the background.
- Fringing: Bright or reflective edges can pick up backdrop spill; correct with desaturation or a targeted defringe tool to keep edges clean.
- Reflections: Glossy products reflect everything. Use larger light sources (bigger equals softer), polarizing filters where appropriate, and clean, intentional highlight placements.
Mention “edge refinement” in your review notes so QA teams know what to look for around intricate areas (laces, hair, fine materials).
Workflow: from RAW to pure white while preserving depth
- Import and neutralize: Set white balance, correct exposure, and apply a mild contrast curve in your RAW editor.
- Isolate the product: Use a quality selection tool or AI background remover to separate foreground and background, paying attention to fine edges.
- Preserve shadows: Keep the contact shadow and a subtle natural shadow; isolate them on a separate layer if you’re in a layered editor.
- Lift the background: Push the background to RGB 255/255/255 using a white layer or curve that targets the background selection.
- Final polish: Address any edge artifacts (anti-halo and fringing), then sharpen the product slightly and export to sRGB.
When your set or timeline doesn’t allow for perfect capture, an AI pass can rescue edges and micro-contrast before your final clip to white.
Hands-on with Pixflux.AI: Upload → AI process → Download a pure white background
Pixflux.AI makes the “near white to pure white” step fast and consistent, even on complex items like hair, fabric, or translucent plastics.
Follow this simple three-step flow:
- Upload your product photo.
- Let the AI process the background to a clean, pure white while preserving edges and shadows.
- Download the final image for your catalog, ads, or marketplace.
You can jump in right away and generate a pure white background for a single image to see how edges and shadows hold up.
Pro tip (advanced five-step pass):
- Open the Pixflux.AI tool page.
- Upload your original image (RAW-converted JPEG or PNG).
- Choose the background remover, then refine with photo enhancement for clarity and contrast.
- Preview the result, adjust shadow intensity and edge refinement if needed.
- Download the result and save a versioned filename for QA handoff.
(Reference image suggestion: Before/after comparison—busy studio background and faint watermark removed, final pure white with preserved contact shadow.)
Compliance reminder: Only remove watermarks on assets you own or have clear permission to edit. Do not use watermark removal to bypass copyright or platform rules.
Beyond white: remove objects, erase watermarks, and enhance clarity
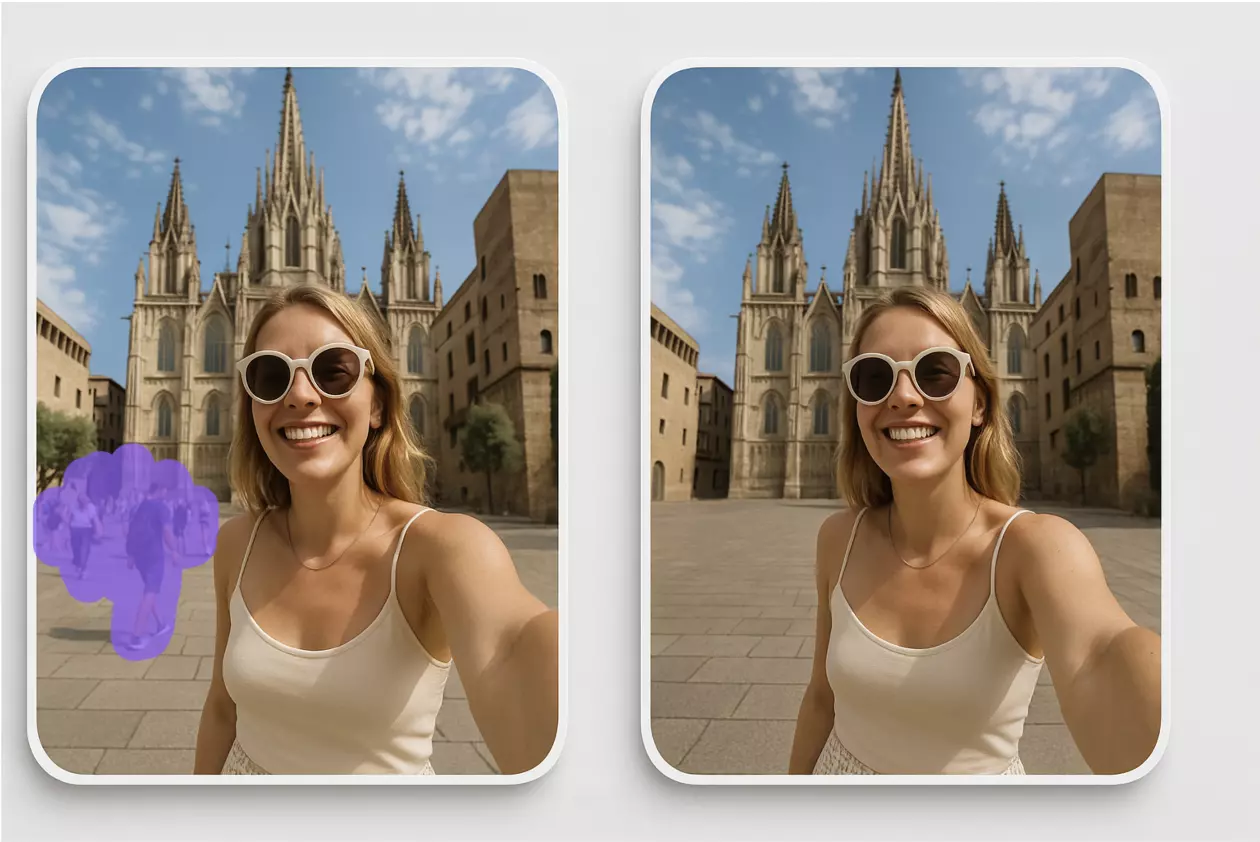
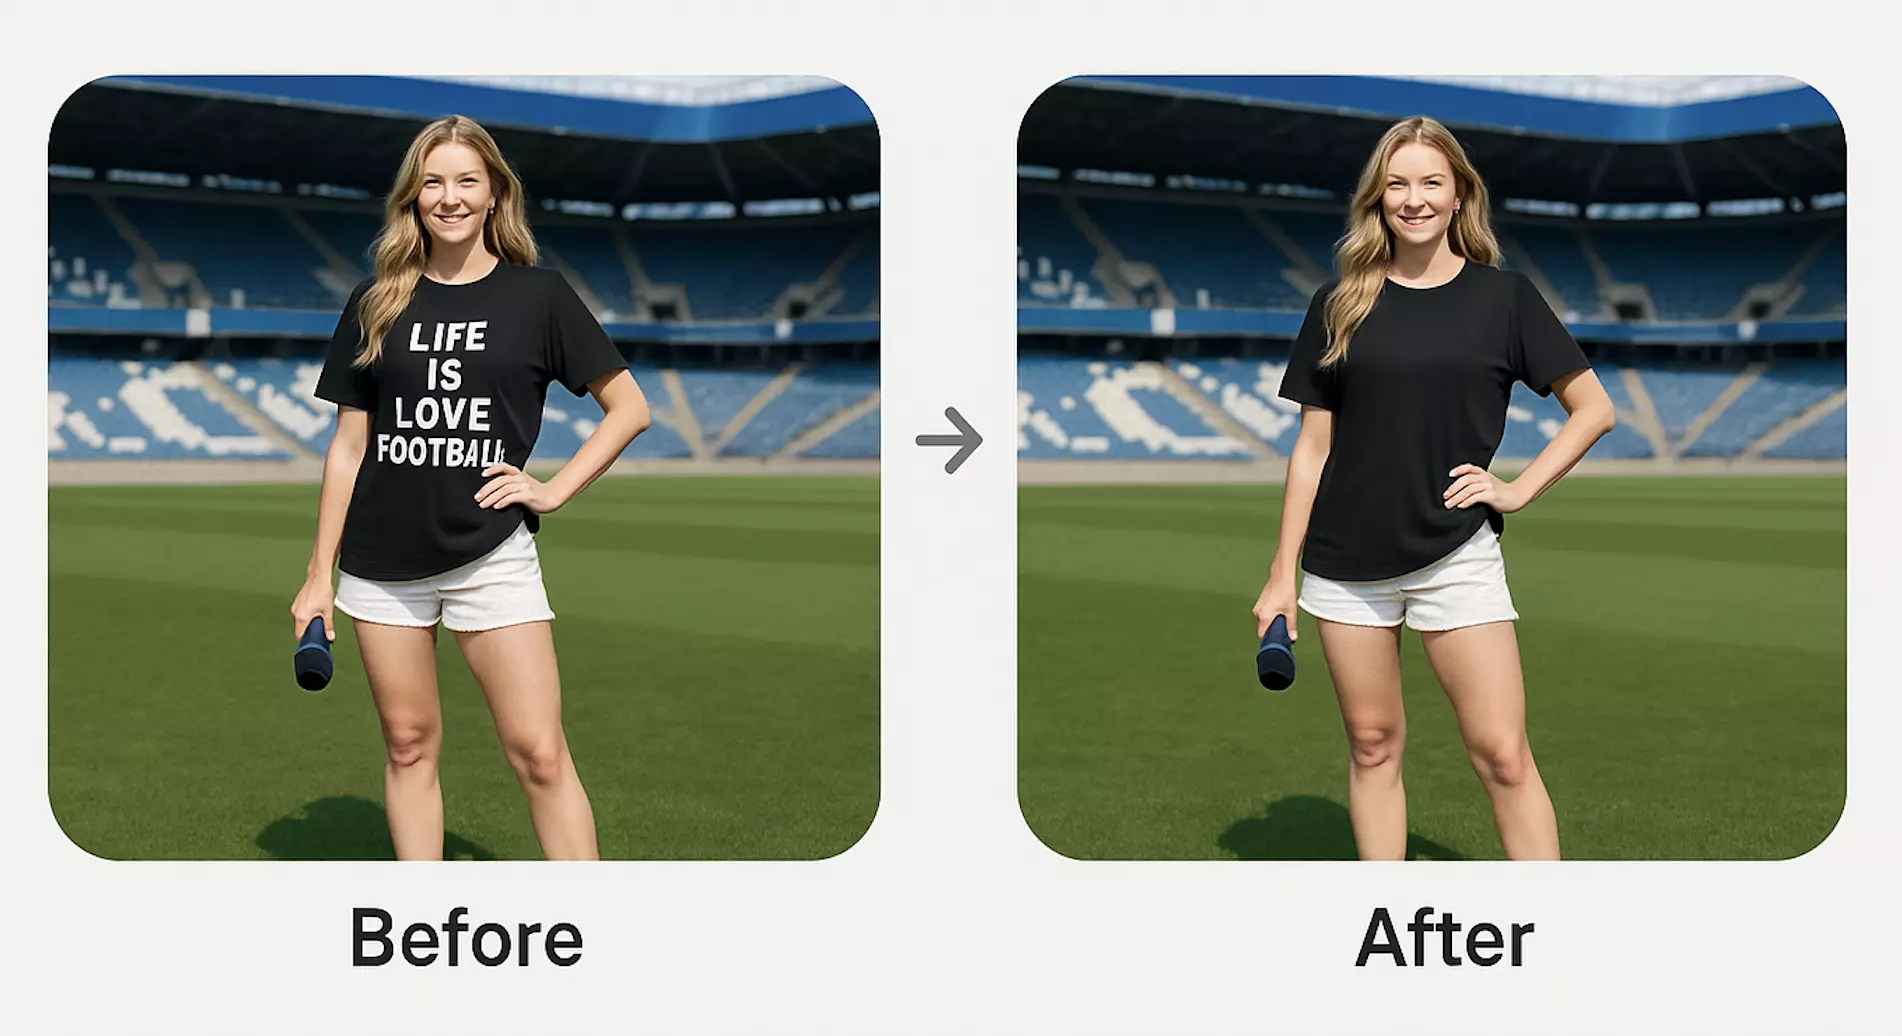
- Remove distractions: Clean away cables, clamps, or stray props that snuck into the frame so your product remains the hero.
- Erase minor watermarks: If you have the rights to the image but need a clean look, use AI-based cleanup to remove simple logos or text marks.
- Enhance detail: A smart clarity and sharpness pass can restore micro-contrast lost to compression, particularly around textured materials and fine edges.
In a typical catalog refresh, teams batch-fix backgrounds and apply a light enhance to keep consistency across hundreds of SKUs. Pixflux.AI supports batch processing so you can maintain uniform standards across a full drop.
File specs for ads, marketplaces, and landing pages
- Color space: Export sRGB for web and ads; it’s the default color space for most platforms.
- Dimensions:
- Marketplaces: 2000–3000 px on the long edge is a safe range to enable zoom while keeping load times reasonable.
- Ads: Follow platform guidance, often square (1:1) or 4:5 for mobile. Ensure your subject is centered with breathing room.
- Landing pages: Larger hero images (3000–4000 px) for high-DPI displays; optimize with modern compression.
- Format: JPEG for balance of size and quality; PNG if you need transparency for compositing; WEBP for performance where supported.
- Background requirements: Many marketplaces require a true white background (RGB 255/255/255) for main images; lifestyle shots can use contextual backgrounds in secondary images.
Troubleshooting white background issues
- Yellow cast: Recalibrate white balance and check your lighting temperature; use a gray card reference. Apply a selective desaturation to background highlights if needed.
- Banding: Over-compressed skies of white can show steps. Add light grain or export at a slightly higher quality to smooth gradients in soft shadows.
- Jagged edges: Indicates hard selections or over-sharpening. Re-run AI edge refinement, reduce haloing, and apply gentle radius sharpening to the product only.
Quality assurance checklist for premium whites
- True white: Background reads as RGB 255/255/255 with no color tint.
- Edge clarity: No halos, no color fringing, and reflections are clean.
- Shadow realism: Contact shadow present and proportional; no floating effect.
- Color accuracy: Product colors are neutral and consistent across angles.
- Consistency: Framing, scale, and contrast match the rest of the catalog.
- Export standards: sRGB, correct dimensions, and proper compression.
AI online tools vs. traditional methods
- Time cost: AI tools like Pixflux.AI process a gallery in minutes, while manual masking or pen-tool work can take 10–30 minutes per image—more for difficult edges.
- Learning curve: Traditional software requires advanced masking, channel work, and compositing skills; online tools keep steps simple and repeatable.
- Batch efficiency: AI batch processing accelerates catalog refresh cycles; manual workflows often break under volume.
- Cross-team fit: Designers get control where needed; marketers and photographers can perform first-pass cleanup without heavy tutorials, reducing bottlenecks.
You can still finish in Photoshop if your brand has complex retouching standards, but the first AI pass handles 80–90% of the work with better edge preservation than most manual masks.
FAQ: White background product photos, shadows, and marketplace requirements
What is a pure white background and why does it matter?
A pure white background is RGB 255/255/255 and keeps attention on the product while meeting many platform rules. Marketplace main images often require true white for consistency and ranking. Using a pure white also avoids color casts that can mislead shoppers and cause returns.
How do I keep shadows looking real on a white background?
Keep a subtle contact shadow and lightly shaped natural or drop shadows that match your light. Over-soft or too-dark shadows look fake; aim for gentle gray tones that taper. In AI tools or editors, reduce intensity and blur until the product looks grounded but not heavy.
How do I avoid halos or fringing around fine edges?
Use AI edge refinement before hard-clipping the background to white. Halos appear when the background is pushed to 255 too early. Correct with feathered selections, defringe tools, or an AI pass that protects micro-contrast, then finalize the white background.
Can I remove watermarks or logos from product images?
Only remove watermarks if you own the rights or have explicit permission to edit the asset. Using watermark removal to bypass copyright or platform policies is not permitted. For your own assets, cleaning minor marks helps keep your catalog consistent and professional.
What file settings should I export for marketplaces and ads?
Export sRGB JPEG at 2000–3000 px on the long edge for marketplaces, and follow aspect-ratio guidance for ads. JPEG balances quality and size; use PNG when transparency is required. Keep backgrounds at pure white for main product images and ensure the product fills most of the frame.
Will AI background removers work on glass, hair, or complex edges?
Yes, modern AI tools handle translucent and fine-detail edges well with proper preview and minor tweaks. For tricky materials, check edges at 100% magnification. If needed, run an enhancement pass to restore micro-contrast and reduce any residual fringing.
Can I process many images at once without losing consistency?
Yes, batch processing applies consistent logic across sets and speeds up catalog refresh cycles. Always run a small test set to confirm exposure, shadow intensity, and edge refinement settings. Then apply those standards to the full batch and spot-check before publishing.
Do I always need pure white, or can I use a light gray?
For marketplace main images, stick to pure white; for ads and PDP galleries, light gray can add depth. Use pure white where required, then explore subtle light-gray or textured whites in secondary images to support brand mood and product contrast.
Conclusion and next steps
White background product photos convert because they simplify the message: all eyes on your product, with true color and believable depth. With marketplaces tightening requirements in 2026 and shoppers expecting premium polish across devices, the fastest path is a streamlined workflow that protects edges, keeps shadow realism, and exports in sRGB with the right specs.
Test a single image today with Pixflux.AI to see how quickly you can produce a consistent white product background that’s clean, premium, and ready to convert. Then scale it across your catalog with batch processing and a simple QA checklist so every new release ships on time—and on white.