Watermark Remover for Product Photos: Clean Visuals Without Rebuilding Assets
Need to remove outdated watermarks from owned product images without losing texture or shine? See how Pixflux.AI cleans at scale in just three steps.
 Emily CremerMay 28, 2026
Watermark Remover for Product Photos: Clean Visuals Without Rebuilding Assets
Your product library is full of great shots—angles, lighting, and styling you’ve already approved. But some images carry old campaign logos, supplier overlays, or outdated “Sale” stickers that no longer fit today’s brand guidelines or marketplace rules. Re‑shooting everything isn’t realistic. And manual clone-heal in a traditional editor can smear textures, flatten highlights, and take hours you don’t have.
That’s why many e-commerce teams are turning to an AI watermark remover to clean owned assets quickly while preserving texture and light. Tools like Pixflux.AI streamline the process so you can keep the hero images you love and simply remove what shouldn’t be there. If you want a direct way to try it, start with this fast watermark remover to clear overlays without rebuilding your entire catalog.
Retailers are standardizing visual guidelines to lift conversion and reduce returns, and marketplaces are tightening imagery rules. As product catalogs refresh faster in 2026, batch cleanup becomes essential. This guide shows how to remove approved or outdated watermarks from owned product photos—with quality checks, non-destructive workflow tips, and a three-step Pixflux.AI tutorial.
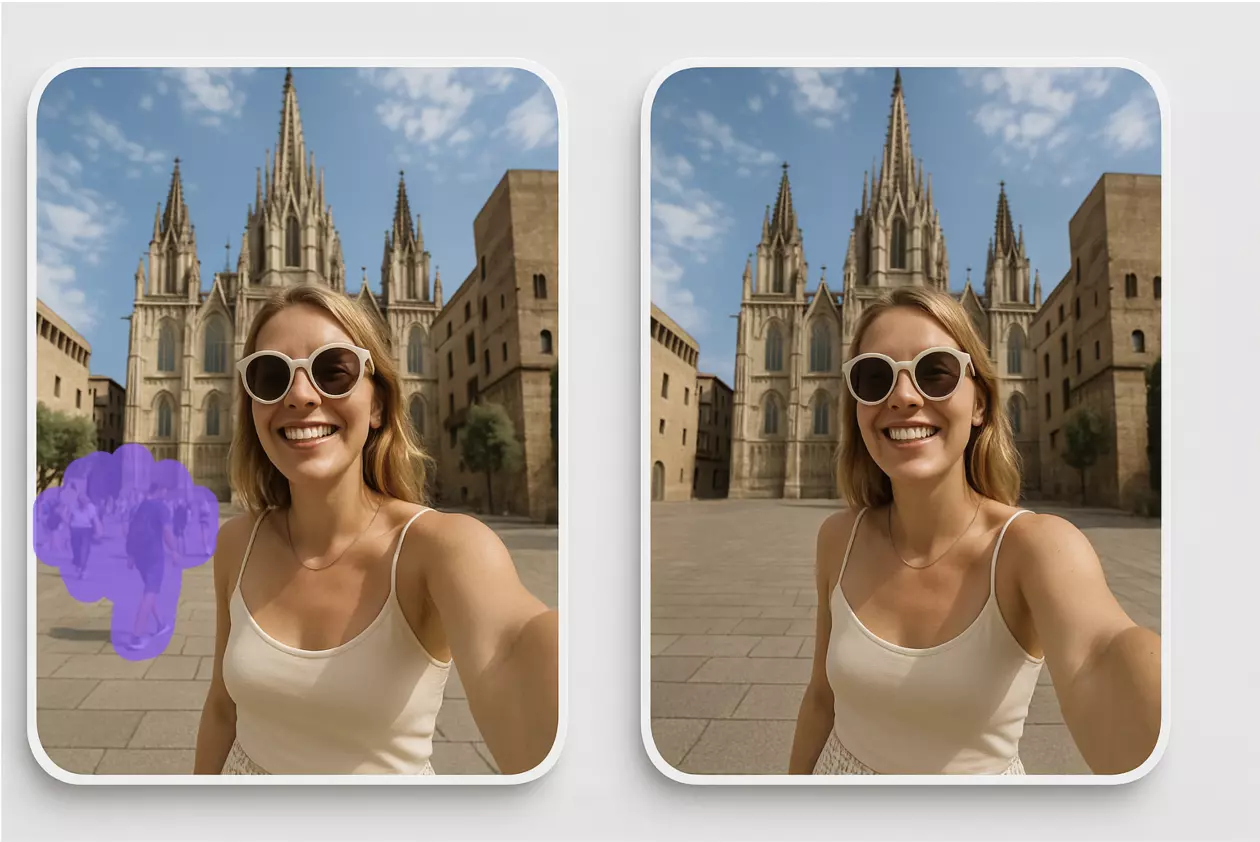
(See image: Before-and-after of the same product photo with an overlaid logo removed using Pixflux.AI watermark remover)
Why e-commerce teams remove outdated watermarks on owned assets
- Brand consistency: Legacy overlays (e.g., supplier stamps, promo stickers) clash with current typography, color, and brand tone.
- Marketplace compliance: Platforms like Amazon or Walmart often reject images with text overlays, borders, or promotional marks.
- Speed and cost: Re-shooting or fully retouching dozens (or thousands) of product SKUs is expensive and slow—especially when the underlying image is already on-brand.
The goal isn’t to “erase history,” but to keep the visual you approved—lighting, angle, styling—and remove only the elements that no longer serve your brand or break platform rules.
How watermarks impact texture, lighting, and perceived quality
Watermarks sit on top of real material. When removed carelessly, they can:
- Flatten fabric grain or leather pores
- Blur specular highlights on glossy surfaces
- Distort hard edges where typography crosses seams
- Leave halos or color casts on gradients
These artifacts lower perceived product quality and can cause subtle mismatches across a grid. AI-based cleanup aims to reconstruct the surface beneath the watermark so the texture fidelity and lighting remain believable.
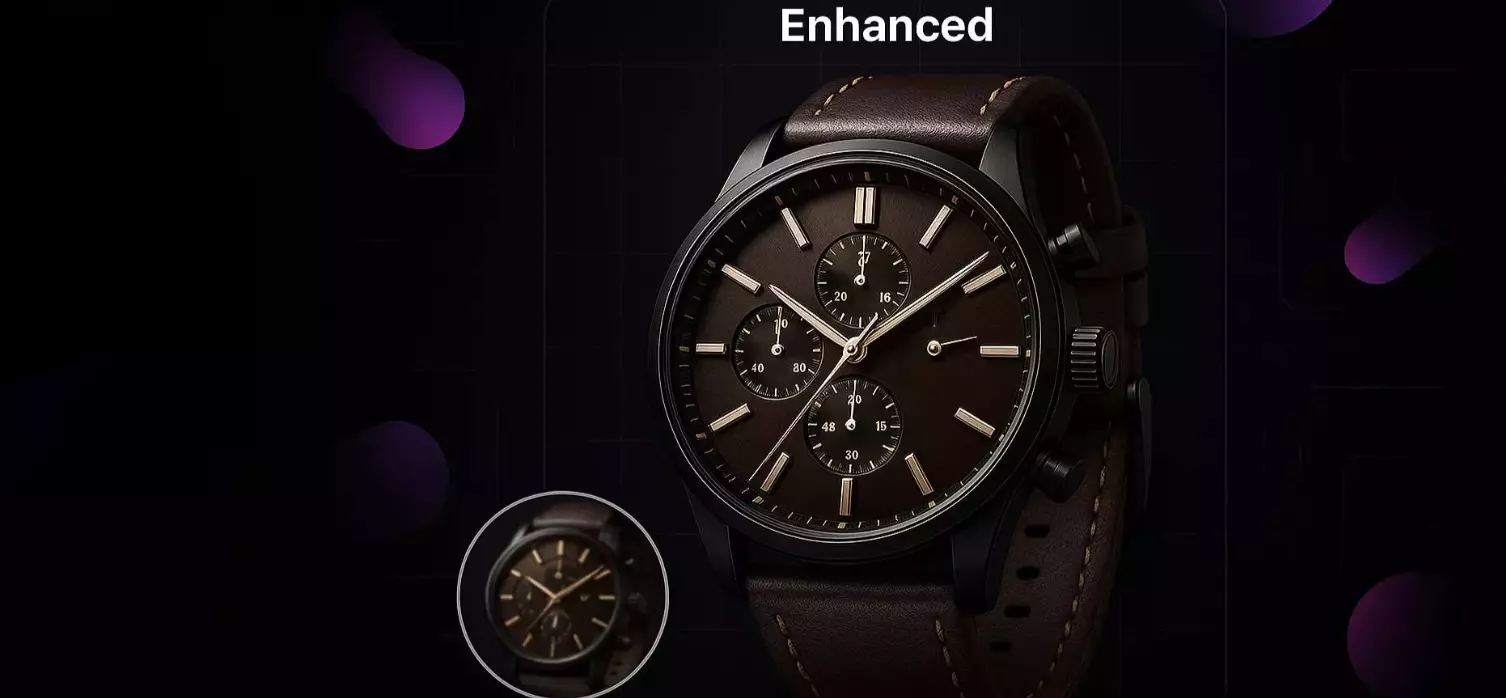
(See image: Close-up comparison highlighting preserved fabric texture and lighting after watermark removal)
Choosing a watermark remover: AI tools vs manual retouching
- Speed at scale: AI removes overlays in seconds, making it feasible for large catalogs. Manual clone-heal doesn’t scale well under tight deadlines.
- Texture preservation: Context-aware generation helps rebuild underlying details like knit patterns, stitching, or brushed metal grain.
- Consistency: Multi-editor, manual workflows can yield uneven results. AI tools reduce variance when you follow a repeatable review process.
Manual retouching still has its place for tough edge cases, but for 80–90% of owned assets with overlays, AI is the fastest way to get consistent, clean results.
Non-destructive workflow and version control for product photos
- Duplicate before you edit: Keep your master files intact. Work on a copy so you can roll back at any time.
- Naming matters: Use a clear suffix like “_nowm” (no watermark) or “_clean” to keep audits clean.
- Keep both versions: Store the original and cleaned file in the same folder for quick side-by-side checks.
- Single source of truth: Maintain a spreadsheet or folder-level notes detailing what was removed and when.
A non-destructive approach protects your team from rework and supports brand audits, marketplace appeals, and seasonal updates.
Remove watermarks in 3 steps with Pixflux.AI
You don’t need a complex setup to get started. Use Pixflux.AI to remove watermark from images in minutes:
- Upload your original product photo
- Drag and drop the owned asset you want to clean. Work with the highest resolution available to preserve detail.
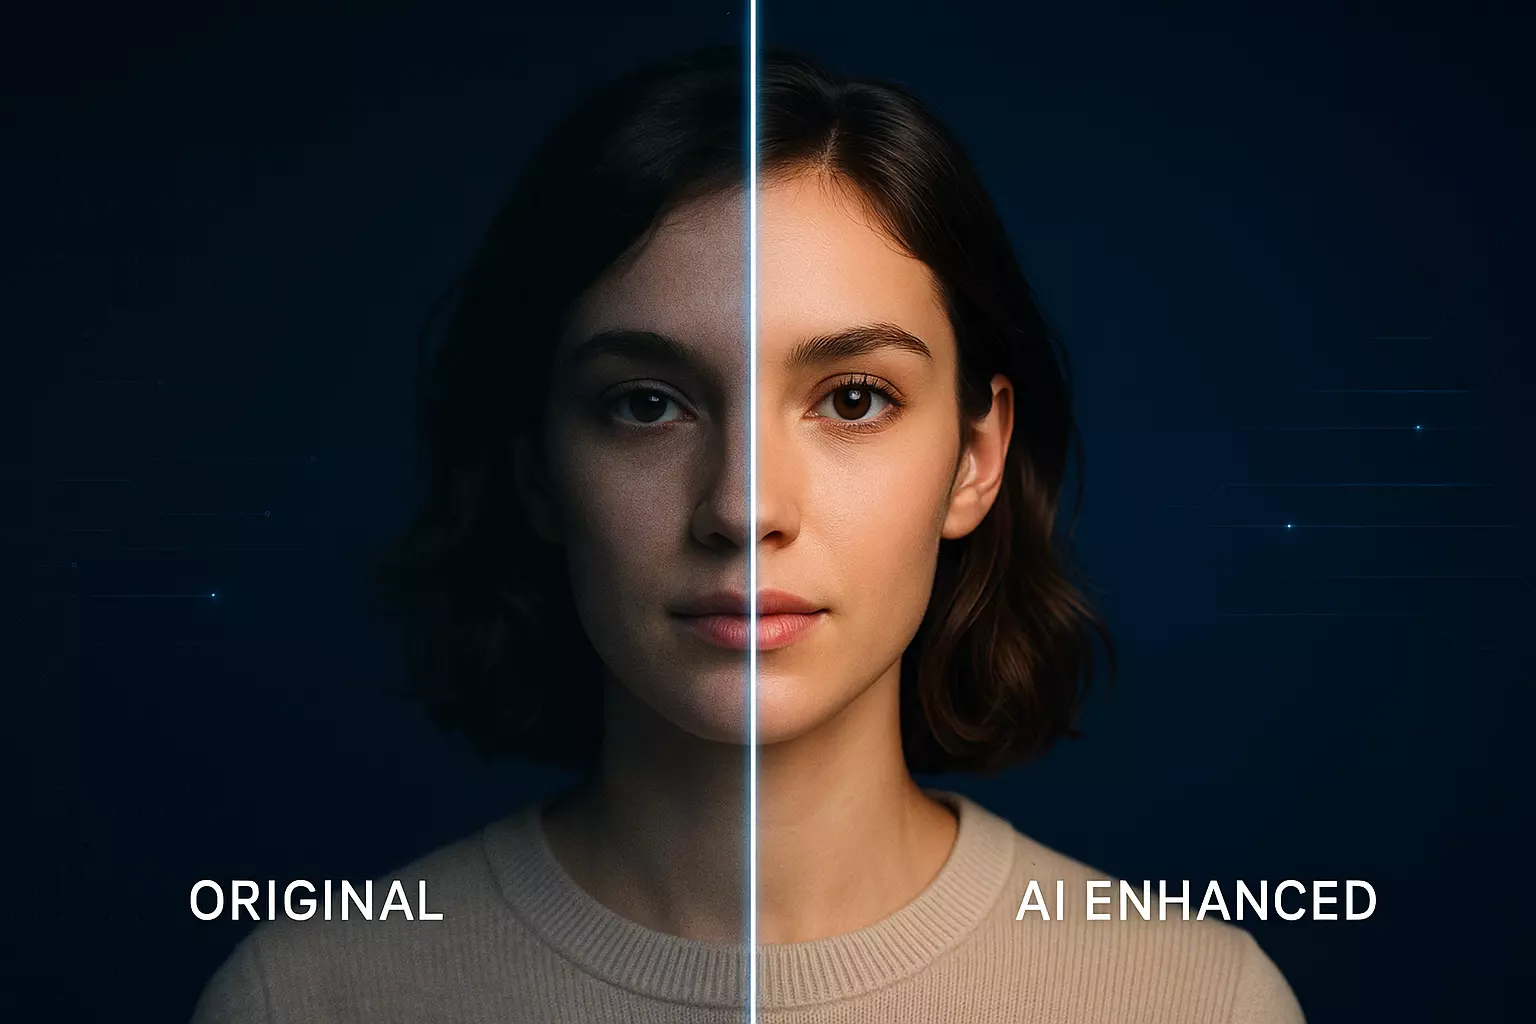
- (See image: Pixflux.AI interface showing the upload → AI processing → download steps for watermark removal)
- Let the AI process the image
- The watermark remover analyzes the overlay and reconstructs the underlying surface to match surrounding texture and lighting.
- Preview the result. If needed, rerun or make small adjustments until the area blends naturally.
- Download the cleaned image
- Save the new file using your naming convention (e.g., “sku-1234_nowm.jpg”).
- Keep the original and cleaned versions together for QA and approvals.
Tip: For images that also need background cleanup, run a quick background adjustment after watermark removal to ensure consistent shadows and horizon lines across your grid.
Quality checks: preserving fabric grain, specular highlights, and hard edges
Before you ship images to your PDPs or marketplaces, run a short visual QA:
- Fabric and knit: Zoom to 100–200% to confirm the pattern repeats naturally and isn’t smudged or mirrored.
- Glossy products: Check specular highlights along curves (bottles, chrome, lacquered wood) for believable falloff.
- Color and gradients: Compare hue and saturation around the cleaned area to ensure no banding or tint shifts.
- Linework and edges: Inspect seams, zippers, and product borders where a watermark crossed; edges should stay crisp.
- Noise and sharpness: If the cleaned area looks too smooth, lightly enhance sharpness for parity with the rest of the image.
Batch watermark removal for large catalogs without breaking consistency
When you’re refreshing hundreds of SKUs, consistency beats perfection. In Pixflux.AI, you can upload multiple images and process them in one pass, then spot-check outputs:
- Group by material: Batch similar textures together (knits, denim, glass) for more predictable results.
- Create a micro-QA routine: Approve/flag in batches of 20–50; escalate only the flagged ones for manual touch-ups.
- Track change reasons: “Remove supplier logo,” “Clear seasonal ‘Sale’ overlay,” etc., to keep audit trails simple.
Batch processing turns a week-long retouch queue into an afternoon review session—without sacrificing brand control.
Post-process polish: Pixflux.AI enhancer and background consistency
Watermark removal often reveals small inconsistencies you wanted to address anyway. Pixflux.AI can help you tidy up the entire frame:
- Enhance clarity and contrast: Subtle sharpening adds back micro-texture where overlays previously dulled the surface.
- Align backgrounds for marketplaces: If your catalog mixes off-white, gray, and studio white, standardize with a quick background adjustment to meet platform specs.
- Remove stray elements: Clean up lint, tape, or props that slipped into the frame to keep focus on the product.
Handle these touch-ups after watermark removal so you’re polishing a final, compliant image rather than chasing iterative fixes.
Compliance and permissions: when watermark removal is allowed
Only remove watermarks from assets you own or are explicitly authorized to edit. Do not remove third-party marks from images you don’t have rights to use. When in doubt, confirm usage rights with your brand or legal team.
Note: The goal is to align owned assets with updated brand guidelines and platform rules—not to circumvent copyright or licensing. Watermark removal should never be used to infringe on others’ intellectual property or bypass marketplace policies.
Troubleshooting tough cases: embossed logos, gradients, and patterned surfaces
- Embossed or debossed marks: These alter geometry and micro-shadows, not just overlay pixels. Run the remover and then check contours; a second pass or light manual correction may be needed to restore depth.
- Semi-transparent marks over gradients: Translucent overlays on sky-like or studio-gradient backgrounds can leave halos. Re-run the AI and nudge exposure/contrast locally to even out tone.
- High-frequency patterns (e.g., herringbone, plaid): Patterns can repeat or misalign after cleanup. Compare tile continuity and fix minor shifts with a small local inpaint or warp adjust.
- Edge-overlap typography: When a watermark crosses a strong edge (e.g., product silhouette), ensure the edge stays crisp. If soft, reprocess and prioritize edge fidelity in QC.
AI online tools vs traditional methods
- Time cost
- AI tool: Seconds per image; batch-friendly for hundreds of SKUs.
- Traditional software: Minutes to tens of minutes per image with clone/heal and patch tools; scales poorly.
- Learning curve
- AI tool: Minimal; simple upload → process → download flow that non-designers can learn quickly.
- Traditional software: Requires retouching expertise to preserve textures and light without artifacts.
- Batch processing efficiency
- AI tool: Multi-image processing out of the box; quick batch QA loop.
- Traditional software: Limited batch automation for nuanced cleanup; heavy manual oversight.
- Team alignment
- AI tool: Shared use of the same interface and review steps keeps outputs consistent across contributors.
- Traditional software: Variance in skill and techniques leads to uneven results and longer review cycles.
For most owned-asset cleanups, an AI tool like Pixflux.AI delivers a better speed-to-quality ratio, with manual retouching reserved for rare, complex exceptions.
FAQ: Watermark remover, brand guidelines, and export settings
Is it legal to remove a watermark from my product photos?
Yes—if you own the asset or have explicit permission to edit it. Only clean marks from images your company owns or is licensed to modify. Avoid removing third-party or copyright marks from images you do not control. When uncertain, check with your brand or legal team before proceeding.
How does an AI watermark remover preserve texture and lighting?
It reconstructs the underlying surface to match nearby texture, edges, and light. Instead of smearing pixels, the AI analyzes surrounding patterns—like knit grain, reflections, and edges—to fill the watermark area with context-aware detail. Always zoom to 100–200% to confirm the rebuilt texture blends naturally.
Can I process a large batch of images at once?
Yes, batch processing helps clean big catalogs quickly and consistently. In Pixflux.AI, you can upload multiple images, run the remover across the set, then spot-check outputs and reprocess any outliers. Organize batches by material or product type for even more predictable results.
Will removing a watermark affect marketplace approvals?
No, as long as the images meet platform rules and you own the rights to edit them. Most marketplaces restrict text overlays, stickers, and borders. Removing outdated marks from owned assets typically improves compliance. Also ensure backgrounds, aspect ratios, and resolutions match the latest marketplace specs before upload.
What file settings should I use when exporting cleaned images?
Export at your platform’s recommended dimensions in JPEG or PNG with balanced compression. Keep resolution consistent across your grid (e.g., 2000–3000 px on the long edge for many marketplaces). Use moderate JPEG quality to avoid banding on gradients, and verify color profiles (usually sRGB) for web consistency.
How do I keep results consistent across a team?
Adopt a simple checklist and shared naming, then run a short QA pass. Use the same tool (e.g., Pixflux.AI), keep master/originals intact, apply a repeatable review process (texture, edges, highlights), and standardize filenames (e.g., “_nowm”). This cuts down on rework and makes approvals faster.
What if the watermark crosses sharp edges or complex patterns?
Try a second AI pass and perform a quick local correction if needed. Edge overlaps and high-frequency patterns are the hardest cases. Re-run the remover, then refine small sections with a targeted inpaint or minor sharpness adjustment to restore crisp edges or pattern continuity.
Conclusion and next steps
Outdated overlays don’t have to force a reshoot. With AI-powered cleanup, you can keep the lighting, styling, and angle you already approved, remove only the unwanted watermark, and move faster toward a consistent, compliant catalog. As retailers standardize visuals and marketplaces raise the bar, having a reliable process—and the right tool—matters more than ever.
Ready to clean owned assets without rebuilding your library? Try Pixflux.AI’s fast watermark removal tool and ship polished, on-brand product photos today.
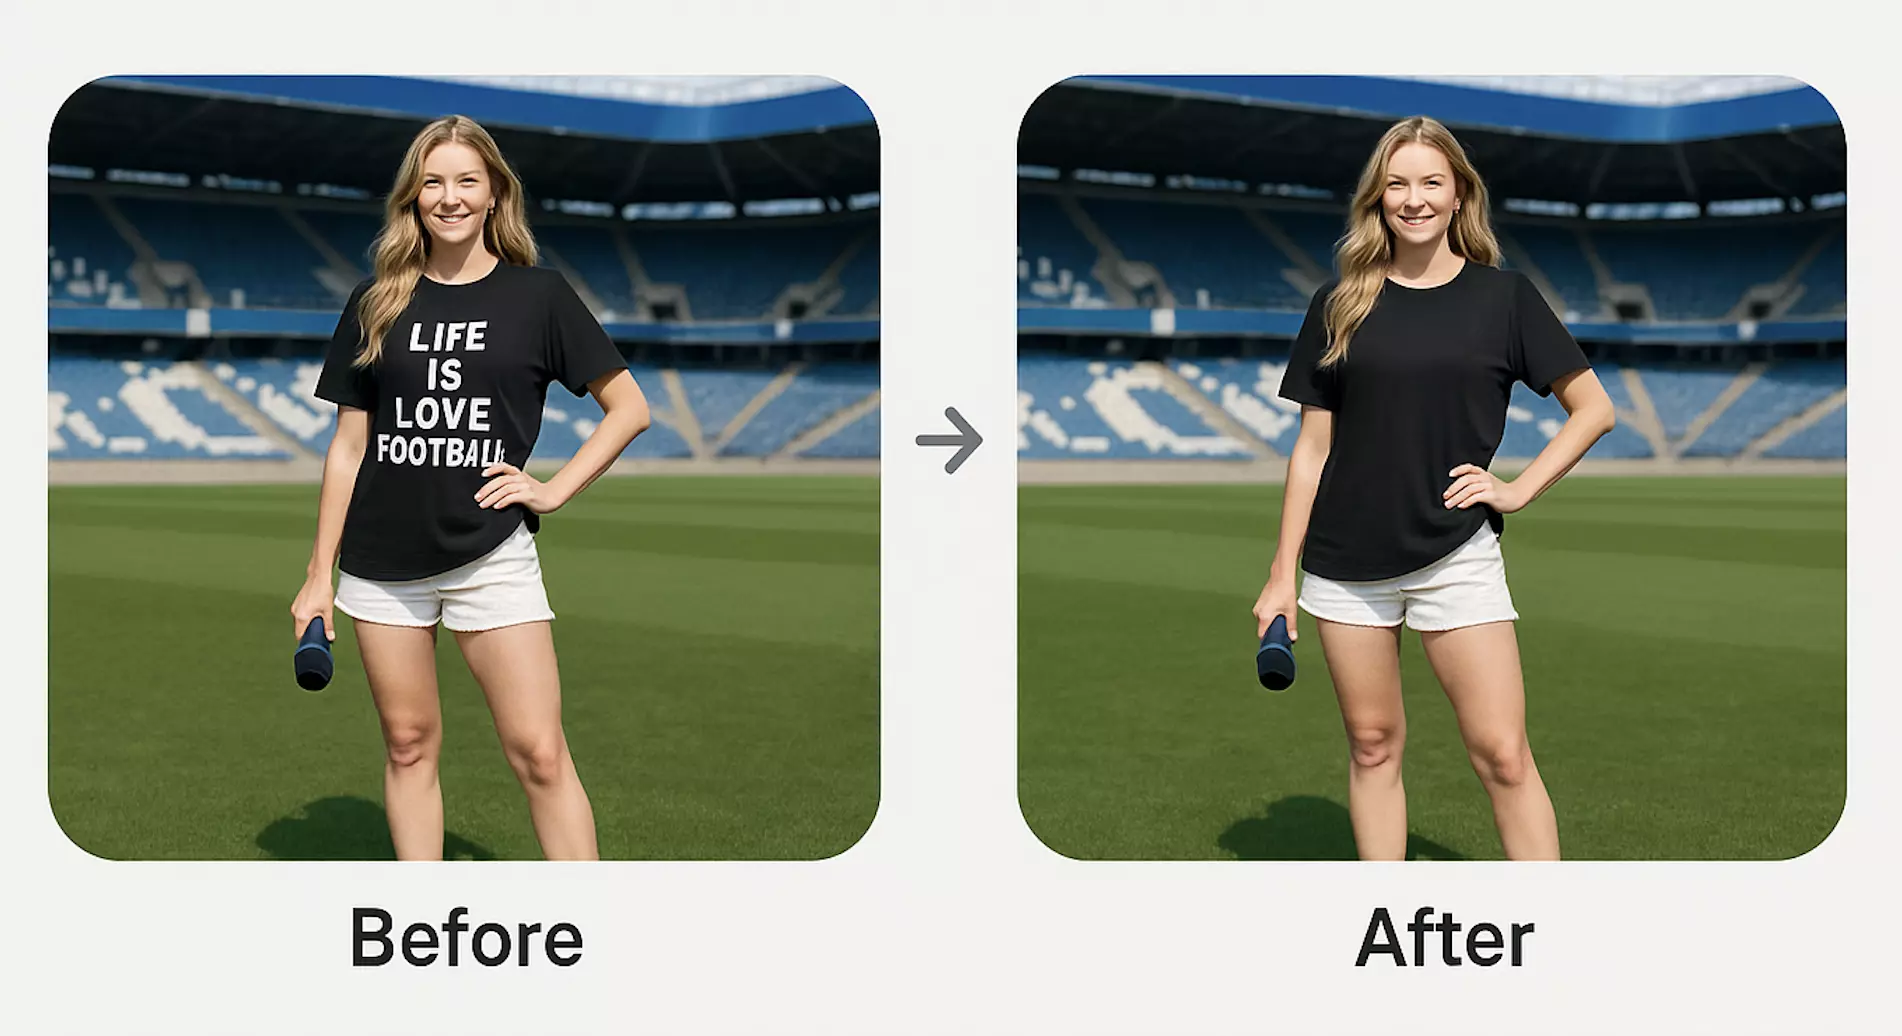
(See image: In Pixflux.AI, upload → let AI remove the watermark → download the clean result, then compare original vs. cleaned side by side)